A hello and a smile :) to all the awesome readers. I know, I have been lagging at updating my blog but, well I'm back with a new Illustrator tutorial. :)
In this tutorial I will show you how to create a beautiful abstract background in Illustrator. By using just a simple shape creating this abstract background is pretty easy and quick. By taking advantage of some of the nifty Illustrator Effects, Transparency and blending mode you get a beautiful vector graphic in no time. So let's get started!
Open a New Document
Open a new document, mine has a width of 18 in and a height of 12 in, but it doesn't matter what size and color mode your document is. Though to start with I will suggest you Hide the Artboard - View>Hide Artboard, because the size of this abstract background tends to becomes very big. Of course as it is vector, you can completely re-size the background to any size you prefer after you create it.
Create a Small Rectangle Shape
Now, start by creating a small rectangle shape as shown below with Rectangle Tool(M). The rectangle that you are seeing below has a approx. width of 33px and a height of 233px. Fill it with any swatch color you wish and remember to have no stroke.
Twist It
Select the rectangle with Selection Tool (V) and Twist (Effect > Distort and Transform > Twist) it by 60 degrees.
Transform Each
Now begins the fun! Select the shape that we just twisted as above and open Transform Each dialog box (Object >Transform > Transform Each) and add the values as 120% for Horizontal and Vertical scale and Rotate Angle to -10 degree as shown in the image below and click Copy button.
Change the Blending Mode
Select the new copied shape and change it's Blending Mode to Multiply in Transparency Palette.
Transform Again
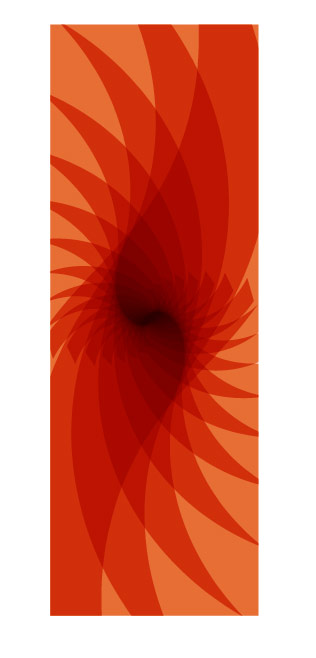
Now, while your new shape is still selected press Ctrl/Cmd+D 17 times. Like I told you before, now your graphic has become too big, just use the Navigator Palette or Zoom Tool to zoom out and make it fit to your window. Your abstract background should now look something like as shown in the image below.
Apply Clipping Mask
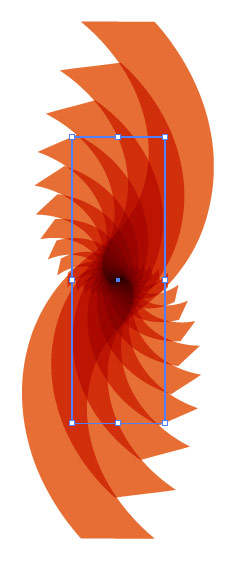
Next step is to make a Clipping Mask, for that, create a rectangle with the Rectangle Tool (M), only Stroke (any color), no fill over the image we just created as show in snapshot below. The idea of Clipping Mask is to show the area of image we want to and mask the part of image we want to hide. So with the rectangle try to cover the interesting areas of image or the area that you want to show.
Now, make a Clipping Mask, Select All, press Ctrl/Cmd + A and goto Object > Clipping Mask > Make. You can also right click and select Make Clipping Mask. After that, you should get something like as shown in the image below.
Best part of Illustrator is that, everything is editable, so if you're not happy with your mask you can go back and re-do it by selecting it and click Object > Clipping Mask > Release. You can also right click and select Release Clipping Mask.
Rotate It
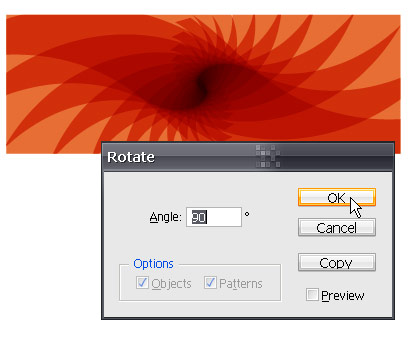
Select the shape with Selection Tool (V) and Rotate it to 90 degree by double clicking on Rotate Tool (R) so that we have a horizontal/landscape shape.
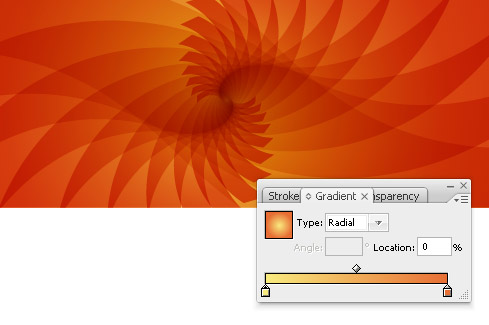
Now, you're almost done, you just need to give some finishing touches! You can either keep the same color or change it's color with Gradient or Solid color of your choice.
Fill it with Gradient
I selected the shape and choosed Gradient, RGB - 248, 234, 126 and RGB - 231, 110, 52. Also, like I have said earlier, the graphic tends to become to big, but you can resize it any time by using the Scale Tool (S), scale it uniformly. I reduced it's size to 30 %.
That should be it, your abstract background is ready, you can leave it as it is or experiment more!
Apply Pattern, Blend Mode and Twist
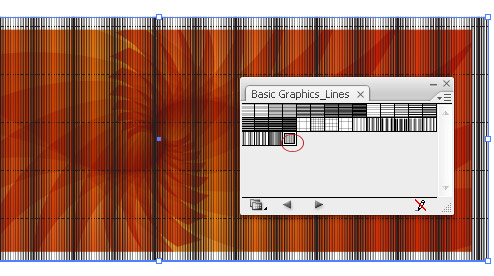
I created a another rectangle with Rectangle Too (M) over the Masked shape. And, filled it with a Pattern Swatch (and no Stroke), named "Undulating Fine Lines" , you can find it in your Swatch Palette click on the Right Menu, select Open Swatch Library > Patterns > Basic Graphics > Basic Graphic_Lines.
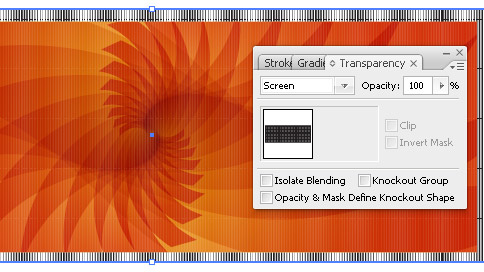
Then I changed it's Blending Mode to Screen.
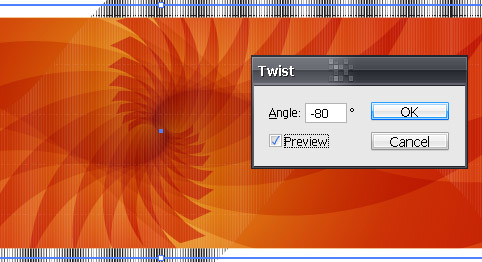
Next, I have Twist it to -80 degrees using Effect > Distort and Transform > Twist. I also rotated it a bit with Selection Tool (V).
Finally...
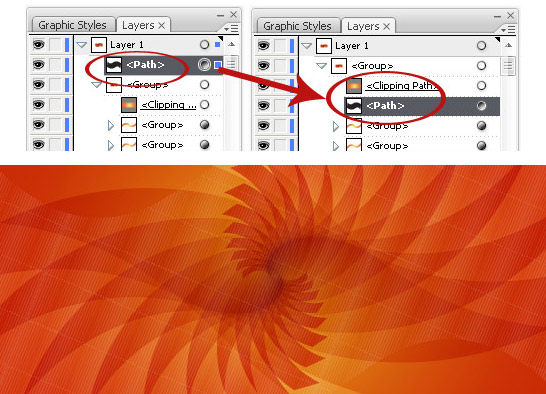
Finally, I dragged that Pattern layer beneath the layer named, Clipping Path, so that areas outside of rectangle is masked.
And, here is my final images!
 |
| Click on the image for larger image |
Hope you enjoyed the tutorial! Feel free to share the link. :)
 Get Free Updates by RSS
READ MORE...


